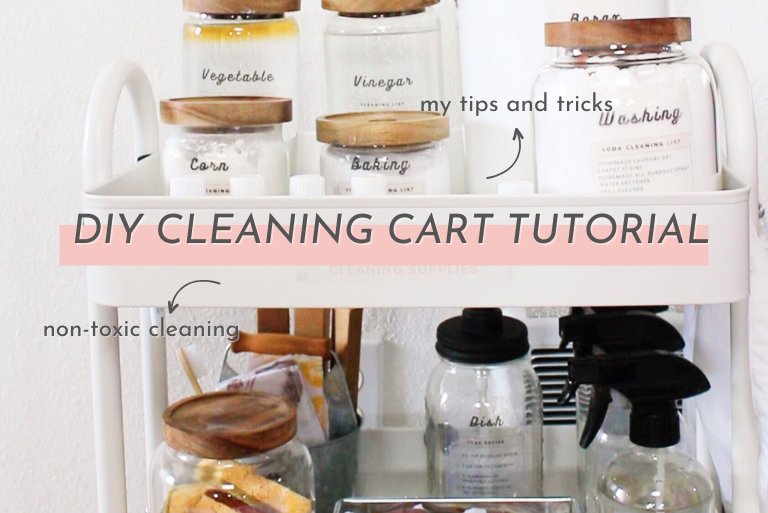
Hey Domestic Darlings! If you want to keep your home sparkling without using harsh chemicals look no further, because I have the ultimate solution for you! Today I’m giving you all the details on how to make your very own DIY cleaning cart filled with non-toxic and natural cleaning products that you can use on their own (I tell you how!) or even use to make your own natural cleaning solutions.
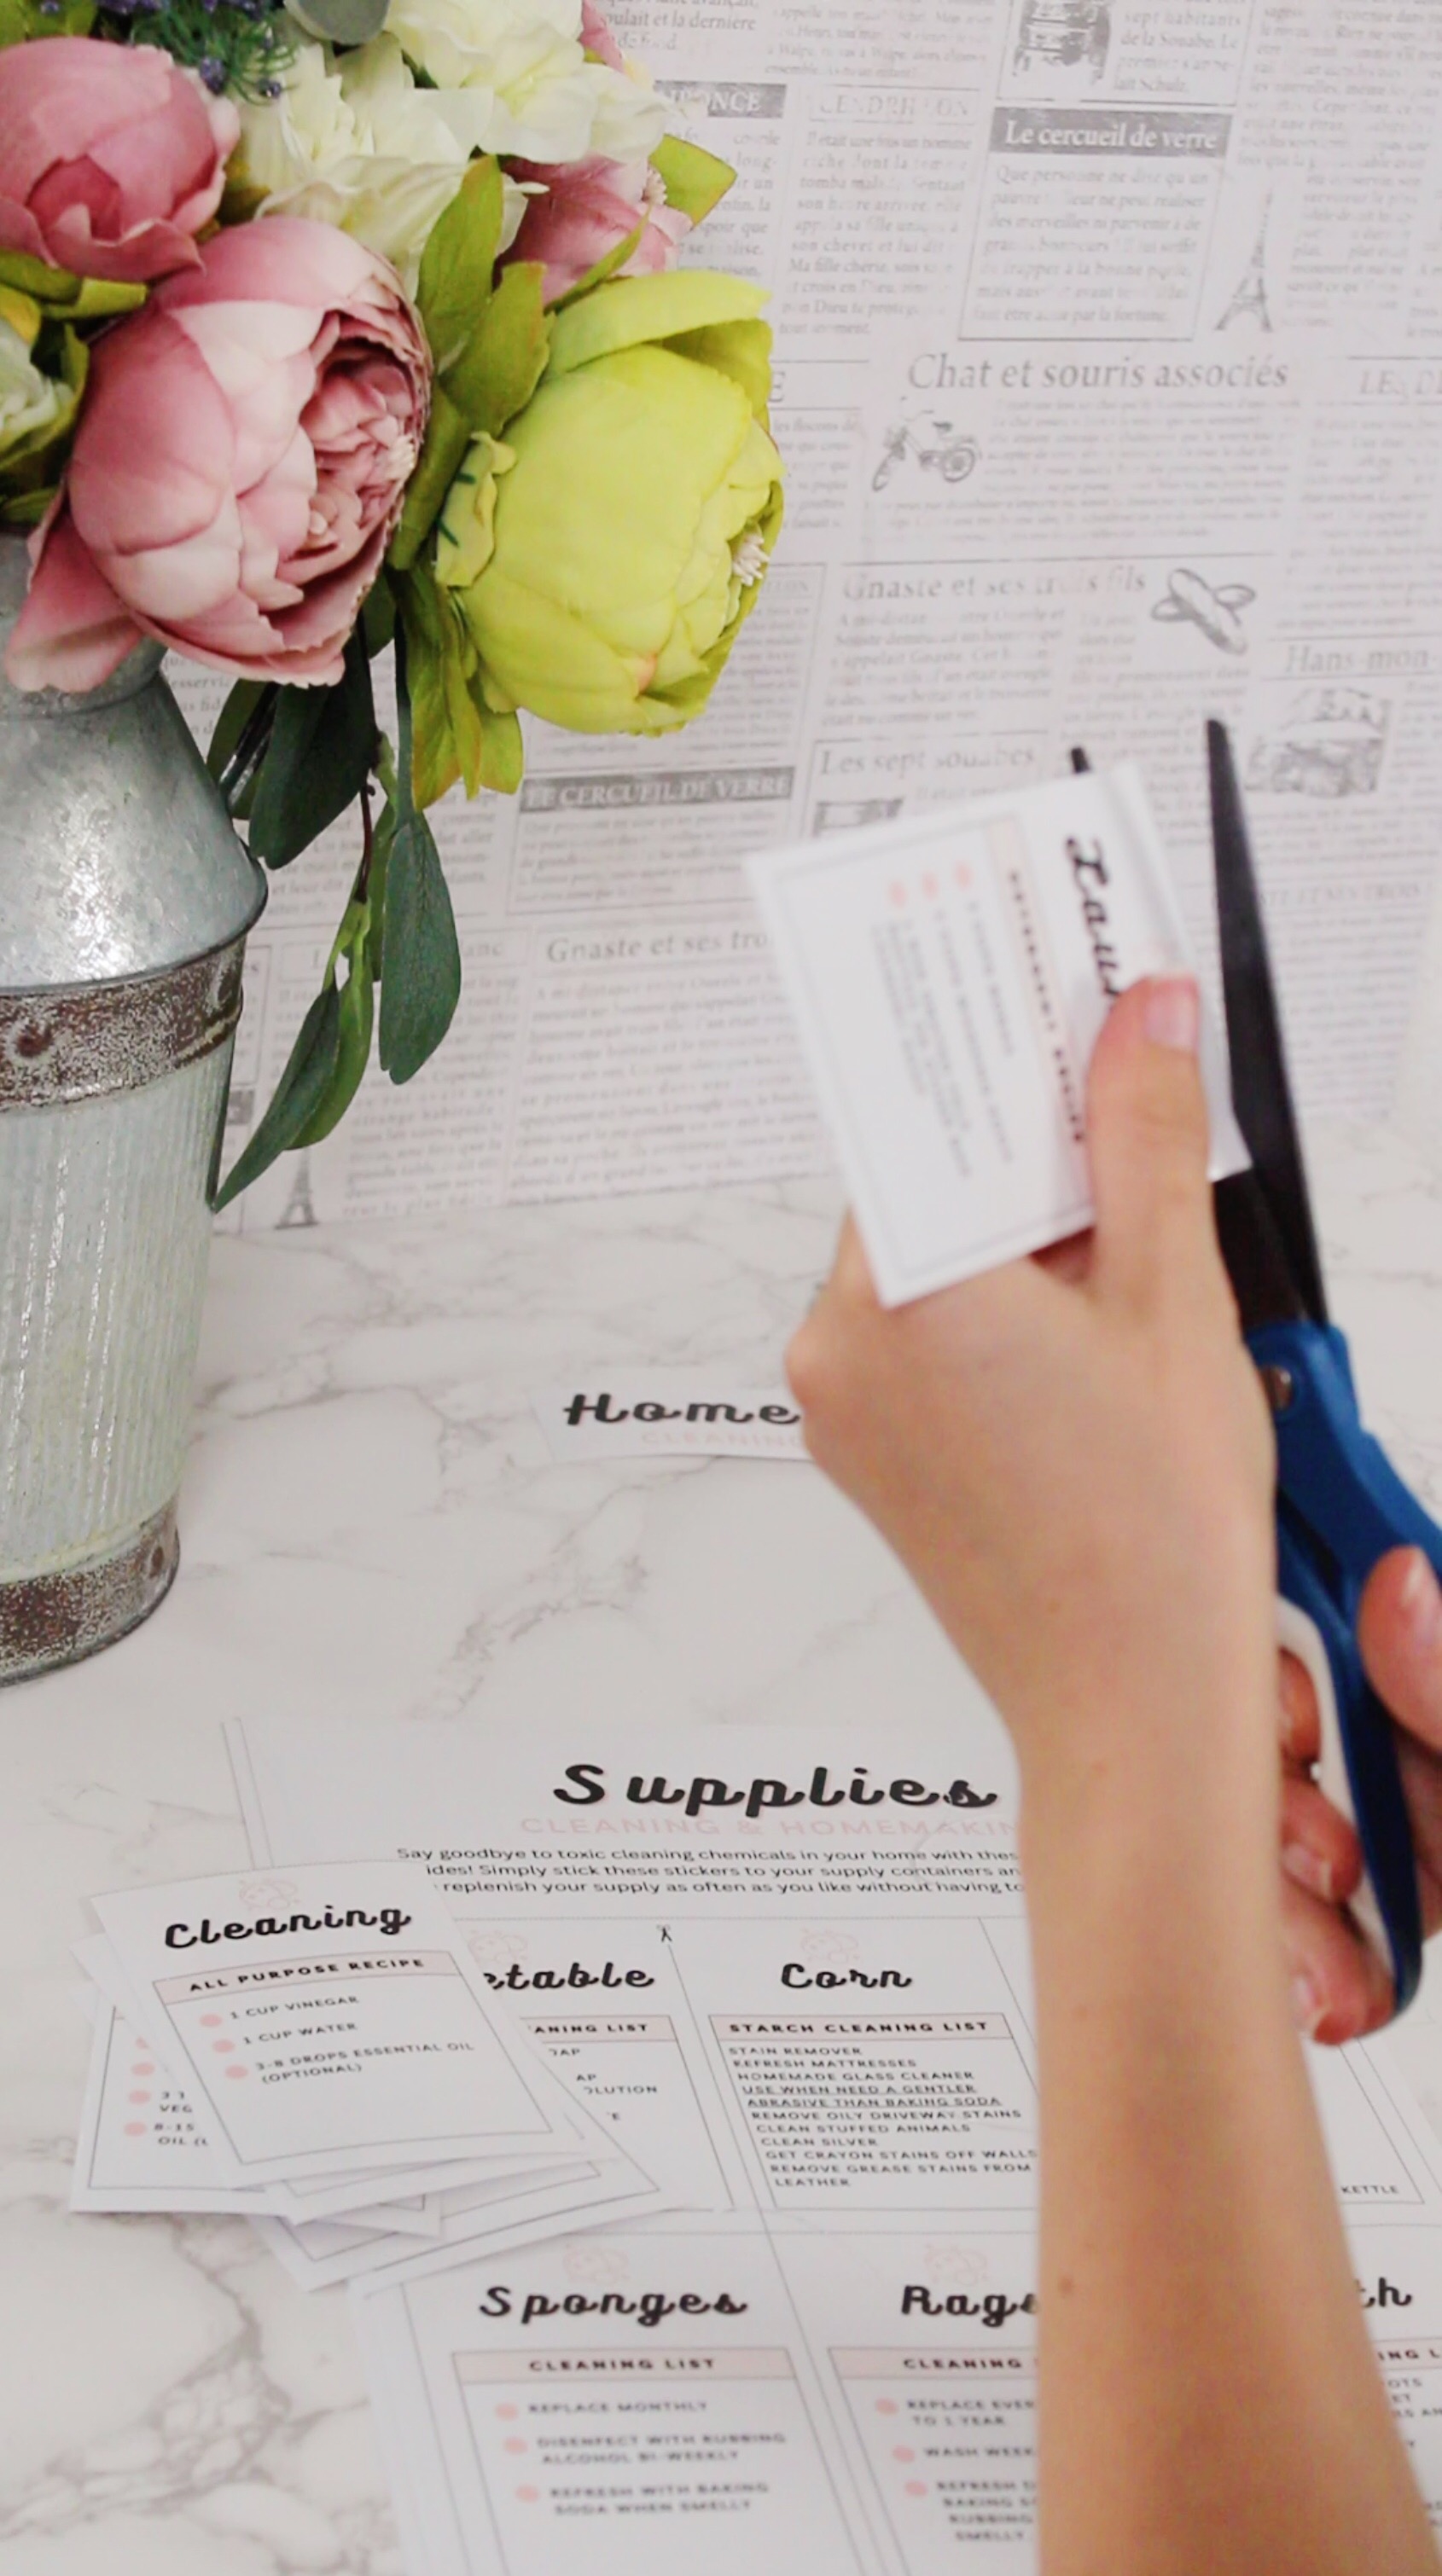
AND, I’m not just showing y’all step-by-step how to create your own cleaning cart, but I also include a link to my printable guide and adorable (if I may say so myself) natural cleaning recipe stickers. These stickers not only add a cute touch to your bottles, but they also tell you exactly what ingredients are needed for each cleaner. PLUS what you can clean with each ingredient on their own. This way there’s no more guess work and confusion when it comes to cleaning the non-toxic way. Let’s get into it!
Making Your Own Cleaning Cart
Now, in my opinion, you wouldn’t go to an office or you go to work and not be provided with the supplies that you need to do your job to the best of your abilities. Of course, there’s the exceptions to that but as a general rule, they’re not going to leave a secretary to not have a computer or back in the day a typewriter or pen and pencil.So that applies in the home as well. You need the tools to be able to do your job as a homemaker. Sometimes it feels so difficult to justify spending and investing in those tools. But it’s really really difficult to do any job without the best possible setup and equipment to do it with. So I love the cleaning cart system.
What you’ll need for your DIY cleaning cart (pick what works for you)
Here’s the links to everything I used (note: these are affiliate links)
- Rolling metal cart
- Containers for cleaning supplies
- Sponges
- Rags
- Disposable Toothbrushes
- Dust pan & broom
- Broom
- Reusable Trash Bag
- Wall mounted trash can
- Glass spray bottles
- Amber spray bottles
- Clipboard & Magnets
- Dry Erase Markers
- Command broom & mop gripper
- Sponge holder
- Napkin holder (for folded rags)
- Headphones (optional)
- Essential oils (optional)


Non-Toxic Cleaning Supplies to Stock (pick your faves)
- Borax
- Washing Soda
- Baking Soda
- Corn Starch
- Vinegar
- Alcohol (Vodka or Rubbing)
- Hydrogen Peroxide
- Vegetable Glycerin
- Castile Soap
- Denture Tablets
Labels
You can use chalkboard labels like I did when I first created my cleaning cart, or you can use what I use now! On my supplies, cleaning ingredients, and cleaning solutions I have printable stickers telling me what’s what.
Here’s The Lowdown On My Printable Non-Toxic Cleaning Stickers.
- Cleaning Ingredient Stickers: These tell me everything that can be cleaned with that ingredient alone.
- Cleaning Solution Recipe Stickers: These labels go on my spray bottles and tell what solution it is, as well as the instructions for making the solution. I have these for my glass cleaner, all-purpose cleaning spray, disinfecting spray, dusting spray, fabric spray/pillow mist, stain remover, dish soap, etc. (I have lots!) This way, when I run out and it’s time to make more, the recipe is right on the bottle and I don’t have to have it memorized or look it up!
- Cleaning Supply Stickers: These are stickers for things like my rags and sponges. It tells me how often to replace them, how often to wash them, and instructions for how to remove any odors they may have.
You can get my cleaning printables here.


Putting it all Together
Now, all that is left is to put it all together! I like to keep my most used ingredients on the top shelf of my cleaning cart, hang my broom/mop on the back along with my clipboard that I keep my printable cleaning routine and all the other printables I use. You can read my blog post on the 5 printables I use to stay organized as a working homemaker here. Or, you can take a look at my cleaning printable bundle here. On the second shelf I like to keep my cleaning sprays, rags, and sponges, though I will say I’m considering switching the top and second shelves to make it even easier to reach these. Bottom shelf I keep extra supplies, and a backup reusable garbage bag. It’s totally up to you how you organize your cleaning cart! And that’s all there is to it! I’ll see you next time!
